A Guide to Reproducible Python Environments
Writing code is just one part of software development. To make your code reliably run on different machines, managing environments is crucial. This article is an introduction to creating reproducible environments in Python using conda, environment.yaml files, and some additional tips and tricks.
What are Environments?
Environments in Python are isolated workspaces that contain a specific collection of packages and dependencies. By using environments, you can ensure that your code runs the same way it was developed, eliminating the “it works on my machine” problem.
Conda
Conda is an open-source package and environment management system. It can help you create, save, load, and switch between environments in Python.
Conda vs Anaconda vs Pip
You might say: Pip (+venv) can do all that, why should I use Conda?
The difference between Pip and Conda is, that Pip installs only Python packages whereas Conda installs packages which may contain software written in any language.
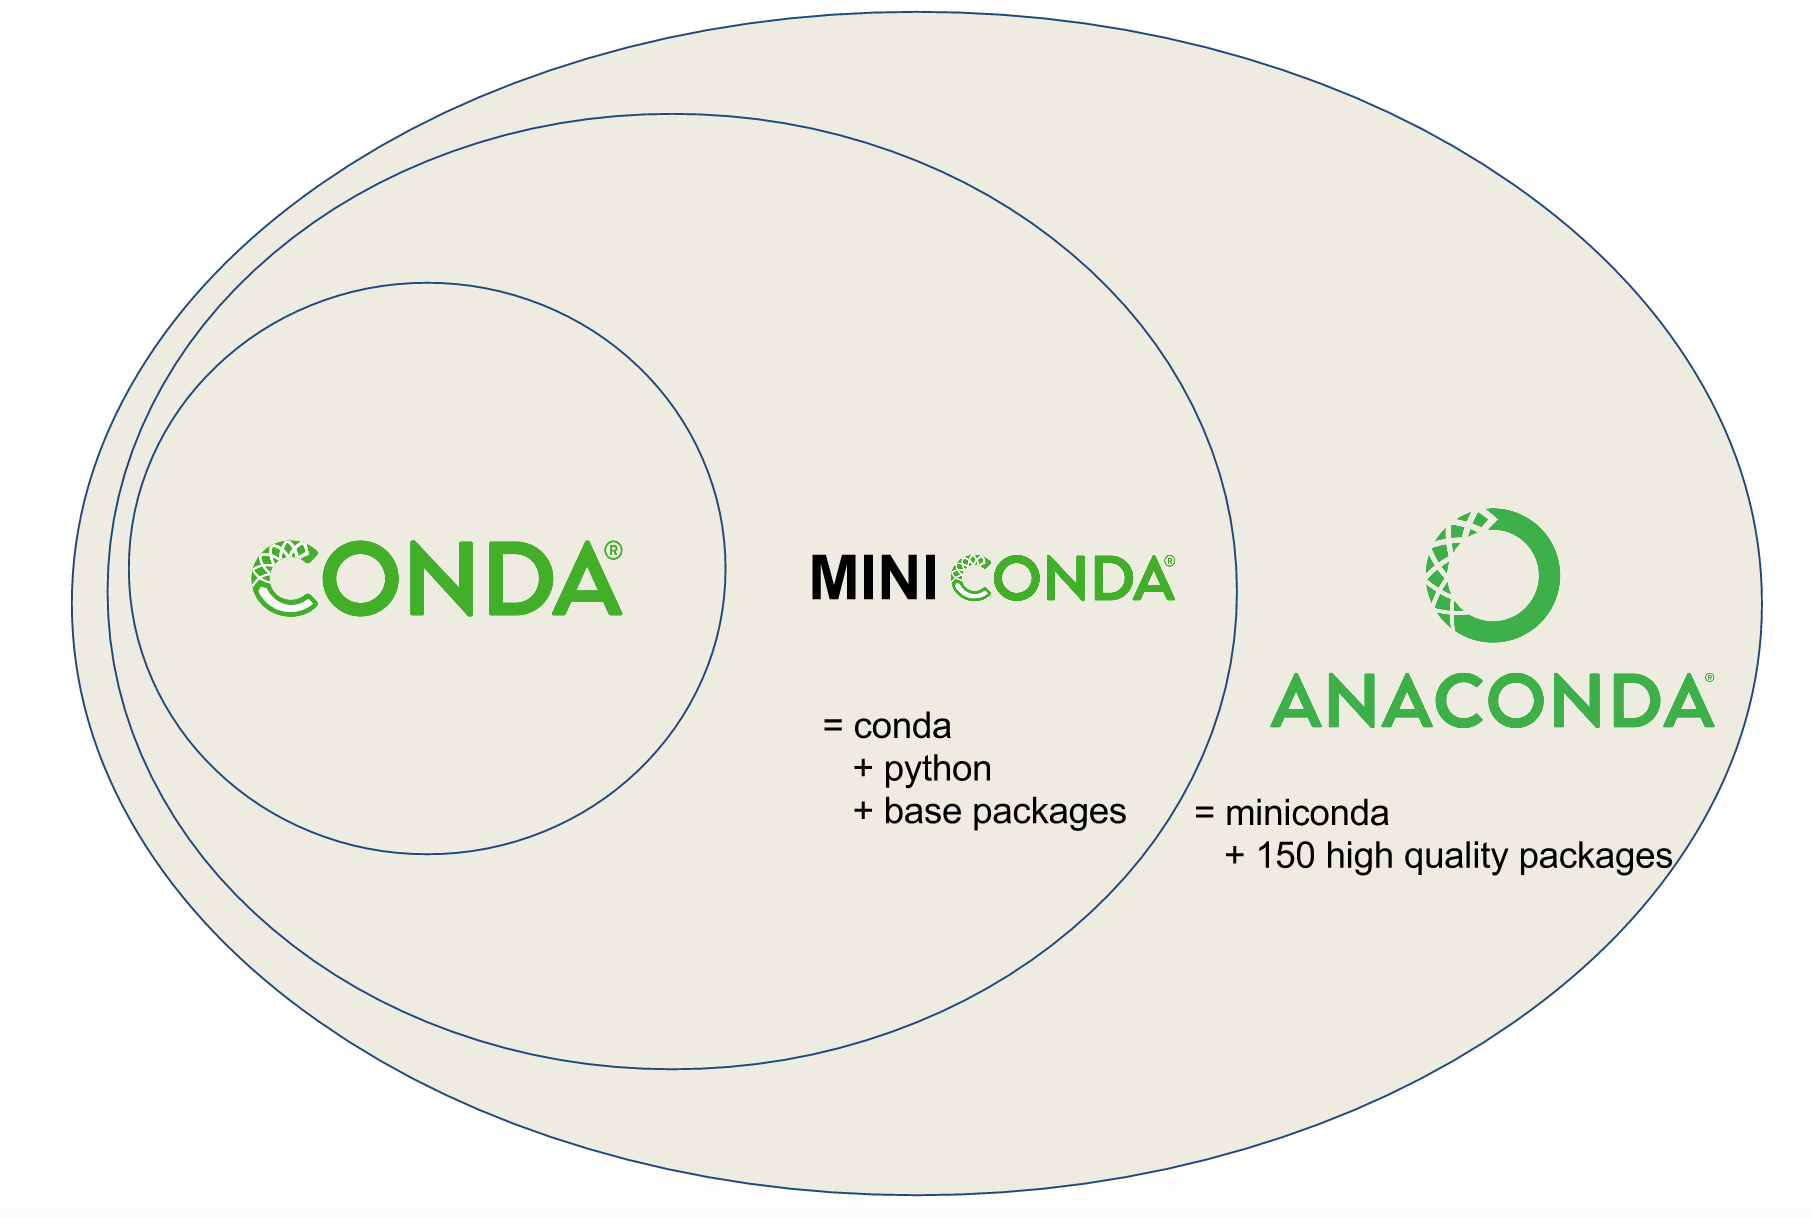
Conda can be installed standalone or come bundled with a collection of common datascience packages, called Anaconda:
source
After installing conda with e.g. miniconda or anaconda, creating a new environment in Conda is as simple as running the command conda create --name myenv, where “myenv” is the name you choose for your new environment. Once created, you can activate this environment using conda activate myenv. This allows you to work within a clean, isolated space, ensuring that your project’s dependencies won’t interfere with one another. Environments you no longer need can be removed with the command conda env remove -n myenv.
Installing packages is equally straightforward. Just use the conda install command followed by the package name you want to add to your environment. Conda will automatically resolve and manage dependencies, simplifying the often complex task of package management.
Adding a -y to the end of the conda install command lets conda skip the confirmation interruption between solving the environment and installing the packages.
Conda Cheat Sheet
The CONDA CHEAT SHEET is a useful collection of the most commonly used conda commands.
Conda-Forge
Conda calls the repositories from which it obtains the python packages “channels”. These are the places that store all the python packages as well as the package requirements and version informations.
Conda-Forge is a community-driven channel for Conda packages. It is often more up-to-date than the default Anaconda channel. To use Conda-Forge, just include it under channels in your environment.yaml file or run conda config --add channels conda-forge or use the mamba installer linked above, which uses conda-forge channels by default. To reduce the time taken by conda to solve the environment it has been recommended to limit the number of alternative channels as much as possible, i.e. only using conda-forge if all your packages are on conda-forge and removing the default channels.
environment.yaml Files
An environment.yaml file allows you to define an environment in a text format. It specifies the channels to use for package searching and the list of dependencies.
These can either be stored in a central location such as your user root directory or per project in the project repository. The latter offers the advantage of allowing you to track your environment.yml file with git alongside your code.
A sample environment.yaml file for a cadet installation can be found in the post above.
To create an environment from this file, first create the file in a chosen location and then run:
conda env create -f environment.yaml
Alternatively, you can also use a template and set a custom name (e.g. my_project) for your project:
conda env create -f environment.yaml -n my_project
